

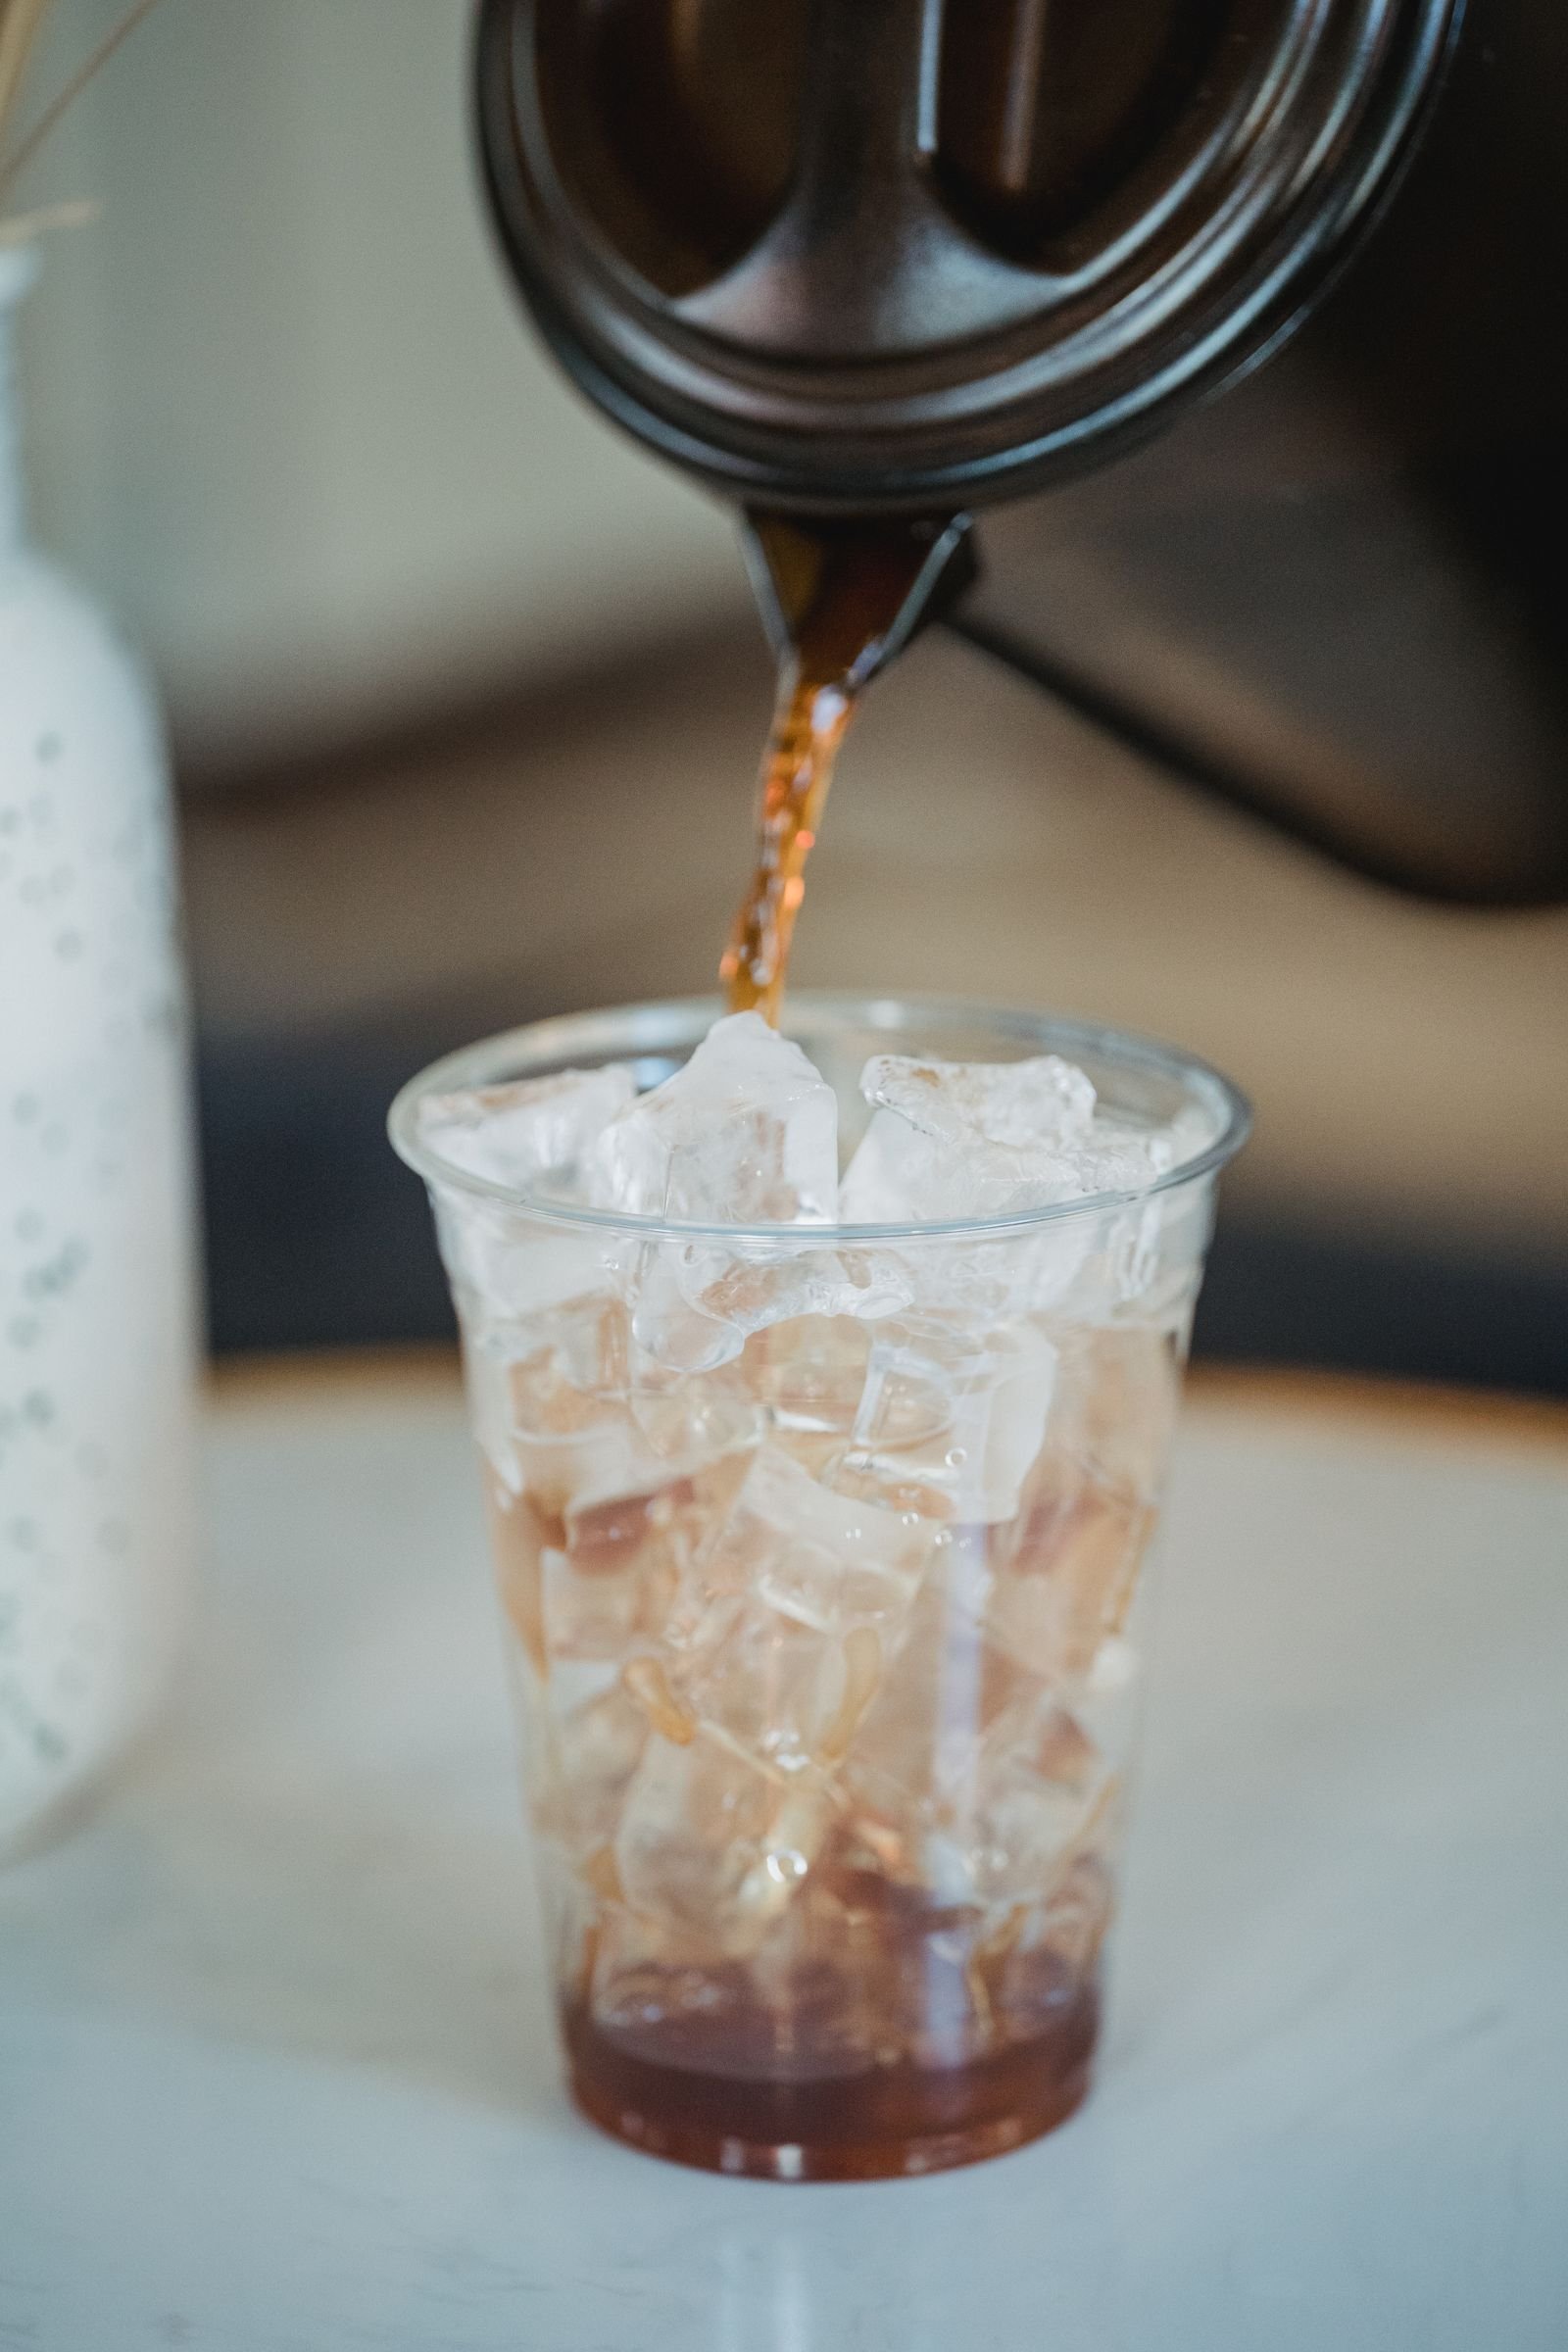
Once you learn how to make cold brew coffee at home, the coffee shop line starts looking optional. Cold brew is smooth, naturally sweet, and less acidic than regular iced coffee — and the method could not be simpler: coarse coffee grounds plus cold water plus time. No espresso machine, no special brewer, no barista skills required.

In this guide, we will cover the ideal coffee-to-water ratio, the right grind size, how long to steep, and how to store your cold brew so a single batch keeps you caffeinated all week. Whether you like it black over ice or creamy with milk, homemade cold brew takes about five minutes of actual work.
Cold Brew vs. Iced Coffee: What Is the Difference?
They look similar in the glass, but they are made in opposite ways. Iced coffee is regular hot-brewed coffee poured over ice — quick to make, but it can taste bitter or watery as the ice melts. Cold brew is never heated: ground coffee steeps in cold or room-temperature water for 12 to 24 hours.
That slow, gentle extraction is the whole magic. Heat pulls bitter acids and oils out of coffee quickly; cold water extracts them far more slowly, leaving a concentrate that tastes smooth, chocolatey, and naturally a little sweet. Many people who find hot coffee harsh love cold brew for exactly this reason.
What You Need to Make Cold Brew Coffee
The equipment list is refreshingly short:
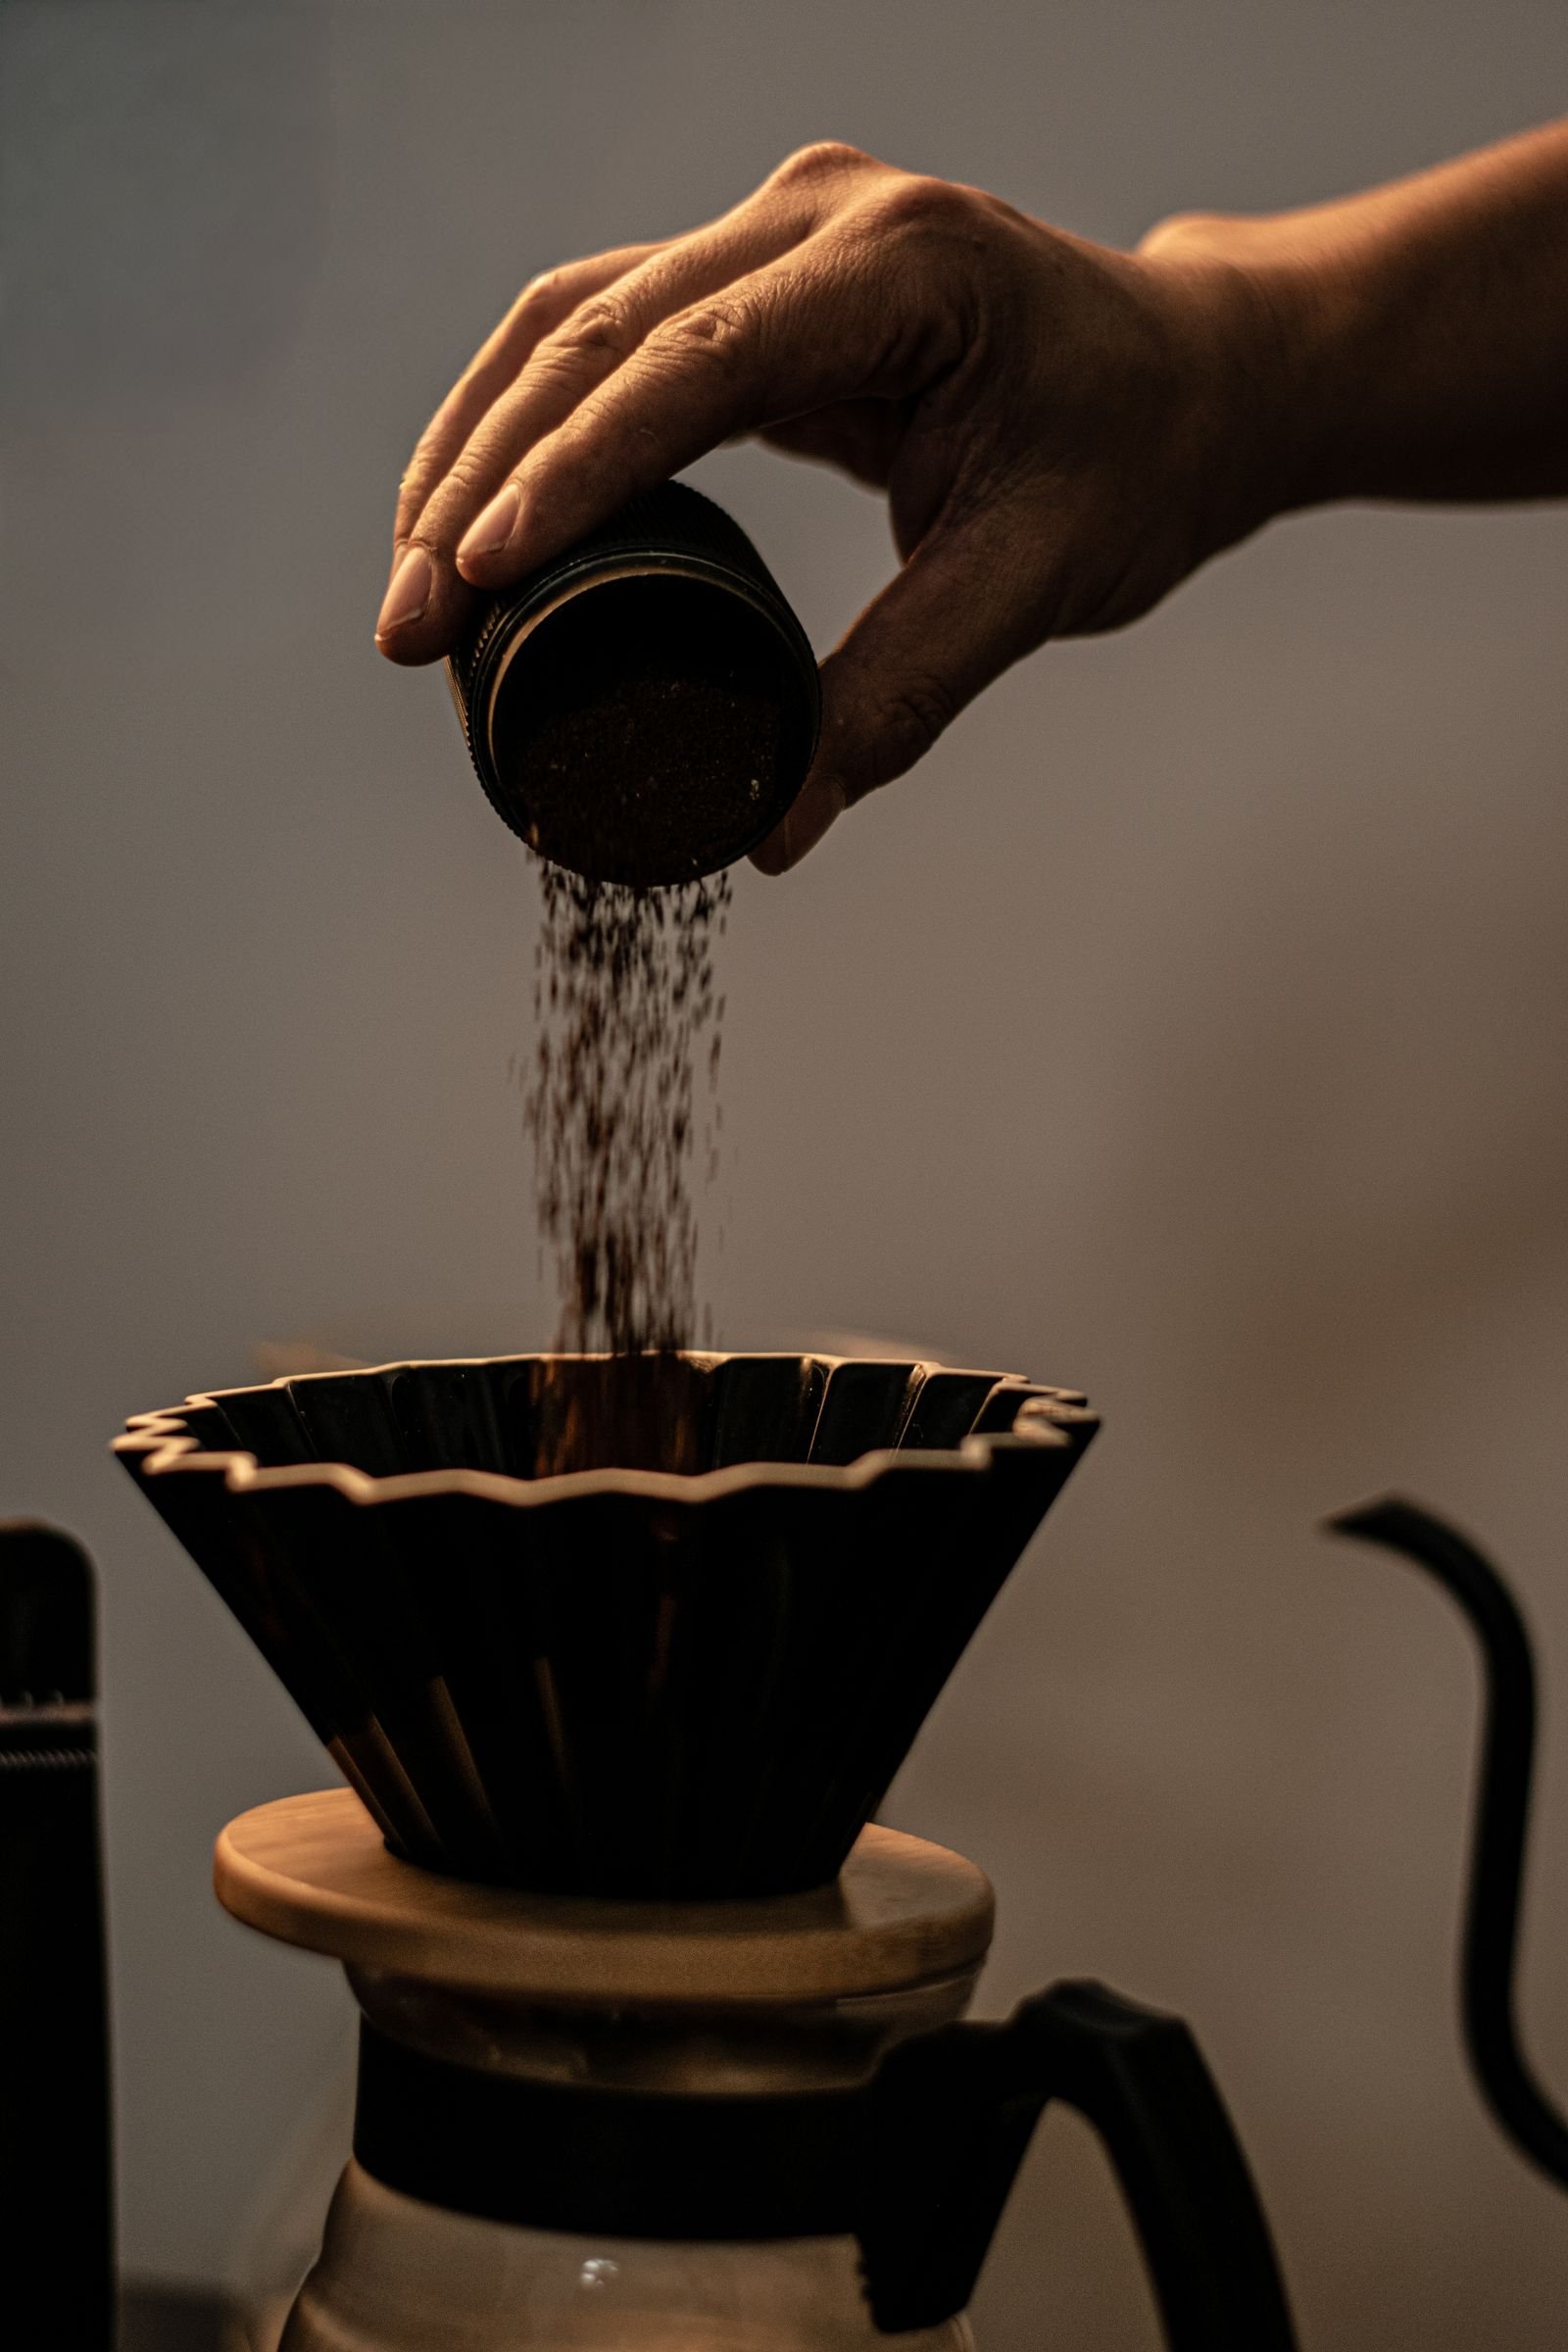
- Coarsely ground coffee — about 1 cup (roughly 80–90 grams) per batch. A coarse grind, like rough breadcrumbs, is important: fine grounds over-extract and turn muddy.
- Filtered water — about 4 cups (roughly 1 liter). Since coffee is mostly water, filtered water noticeably improves the taste.
- A large jar or pitcher — any 1-liter (or larger) container with a lid works.
- A strainer and filter — a fine-mesh sieve plus a coffee filter, cheesecloth, or even a clean kitchen towel.
That is genuinely it. Purpose-made cold brew pitchers with built-in filters exist and are convenient, but they are optional — a mason jar does the job beautifully.
How to Make Cold Brew Coffee: Step by Step
Step 1: Measure your coffee and water
The classic starting ratio is 1 part coffee to 4 parts water by weight for a concentrate, or about 1:8 for ready-to-drink cold brew. An easy batch: 1 cup of coarse grounds to 4 cups of water makes a concentrate you dilute later — a little concentrate goes a long way. If you are unsure about volumes, our ounces-to-gallons conversion guide can help you scale any recipe up or down.
Step 2: Combine and stir
Add the grounds to your jar, pour in the water, and stir gently so every ground is wet. There is no blooming, no pouring technique, no timer anxiety — just make sure nothing is sitting dry on top.
Step 3: Steep for 12 to 24 hours
Cover the jar and leave it at room temperature or in the fridge. 12 hours gives a lighter, brighter cup; 16–18 hours is the sweet spot for most people; 24 hours makes it bold and intense. To put that steep in perspective, 24 hours is 86,400 seconds — yes, we did the math in our seconds-in-a-day guide. Set a phone reminder so you do not forget it.
Step 4: Strain it twice
Pour the mixture through a fine-mesh sieve to catch the big grounds, then strain again through a coffee filter or cheesecloth for a clean, sediment-free brew. The second strain is what separates silky café-style cold brew from gritty DIY attempts — do not skip it.
Step 5: Dilute and serve
If you made a concentrate (1:4 ratio), dilute it roughly 1:1 with water or milk over ice, then adjust to taste. Ready-to-drink batches (1:8) can go straight over ice. Add milk, cream, a splash of vanilla, or sweetener if you like — cold brew’s smoothness means you will likely need less sugar than usual.
How to Store Cold Brew
Transfer your strained cold brew to a sealed bottle or jar and refrigerate it. Concentrate keeps well for about 7 to 10 days in the fridge; diluted ready-to-drink cold brew is best within a few days. If it starts tasting stale or sour, it is past its prime — but a batch rarely survives that long anyway.
Pro tip: freeze leftover concentrate in an ice cube tray. Cold brew ice cubes chill your drink without watering it down — the opposite of the sad, diluted iced coffee problem.
Cold Brew Troubleshooting
- Too bitter? You likely steeped too long or ground too fine. Try 12–14 hours next time, or dilute more.
- Too weak or sour? Steep longer (up to 24 hours) or increase the coffee ratio slightly.
- Gritty texture? Strain through a proper coffee filter, not just a sieve — and pour slowly.
- Cloudy appearance? Usually just fine sediment; a second filtering clears it up.
Cold Brew Variations to Try
Once you have the basic method down, experiment:
- Vanilla cinnamon cold brew: add a split vanilla bean and a cinnamon stick to the grounds before steeping.
- Mocha cold brew: stir a spoonful of cocoa powder into your serving.
- Cold brew tonic: pour concentrate over tonic water with lots of ice and an orange twist — surprisingly refreshing.
- Decaf cold brew: the method works exactly the same with decaffeinated beans for an evening-friendly version.
Is Cold Brew Stronger Than Regular Coffee?
It depends on how you serve it. Cold brew concentrate is potent — often stronger per ounce than drip coffee — but once diluted 1:1, a serving lands in roughly the same caffeine neighborhood as a regular cup. The smoother taste can be deceptive, though: it goes down easier, so pace yourself until you know your batch.
Conclusion
Learning how to make cold brew coffee at home is one of those small skills that pays off every single morning: five minutes of prep, a day of patience, and a fridge full of smooth, café-quality coffee for a fraction of the coffee shop price. Start with the 1:4 concentrate ratio, steep for 16 hours, strain twice — and adjust from there until it is exactly yours.

3 Comments
Pingback: Azelaic Acid Serum: Benefits and How to Use It
Pingback: How to Start Journaling: A Beginner’s Guide - Nerd Bot
Pingback: How to Make Banana Bread: An Easy, Moist Recipe for Beginners - Nerd Bot